


Installation Guide
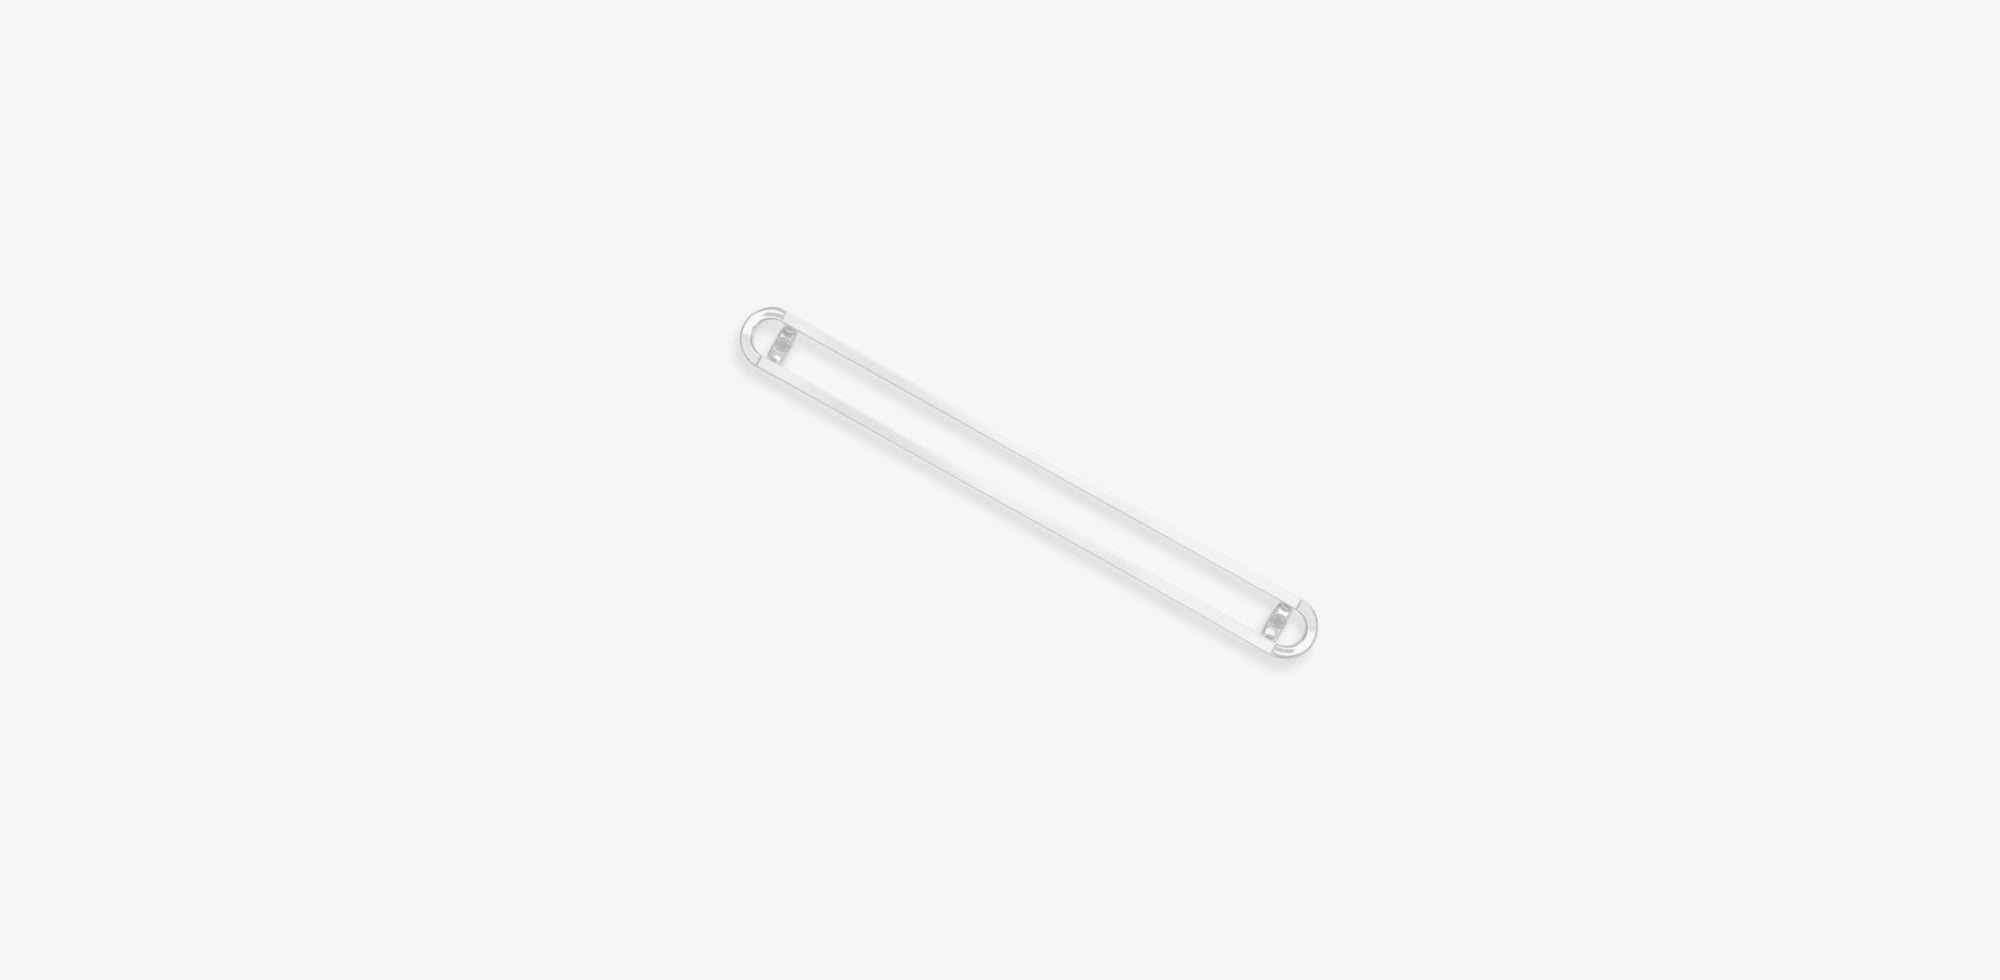
ShowOff Magnetic Rack Mounting Instructions
This step-by-step guide includes important safety information, detailed mounting instructions, wall-specific advice and care tips to help you securely install and maintain your ShowOff Magnetic Rack.
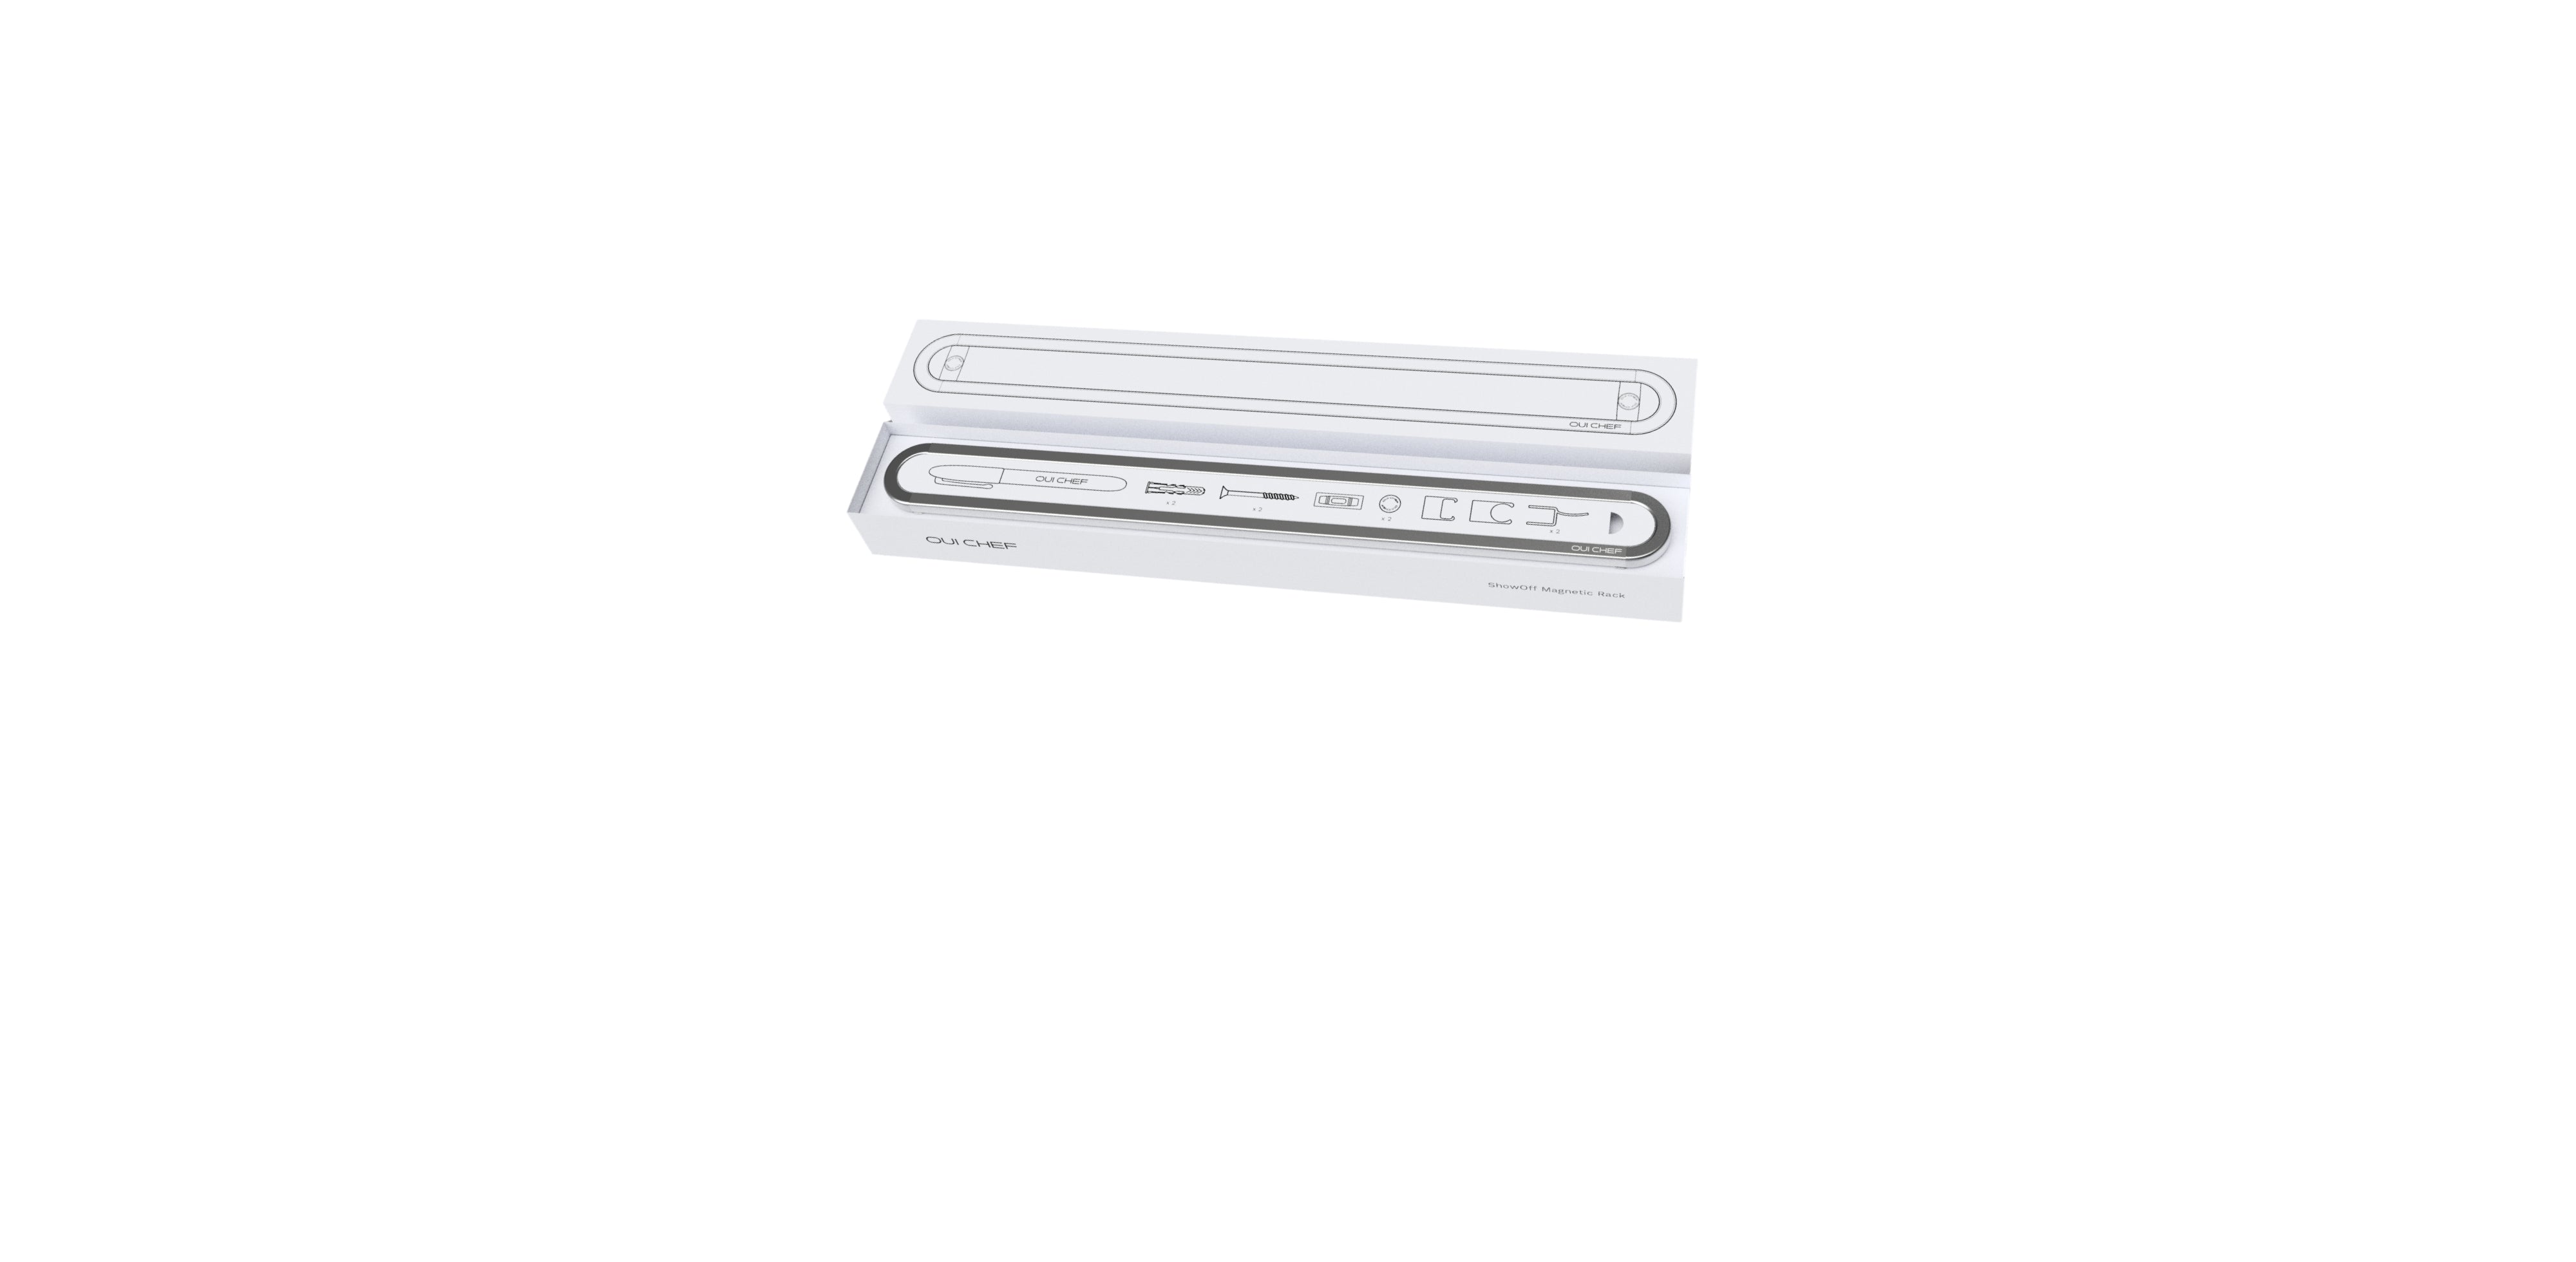
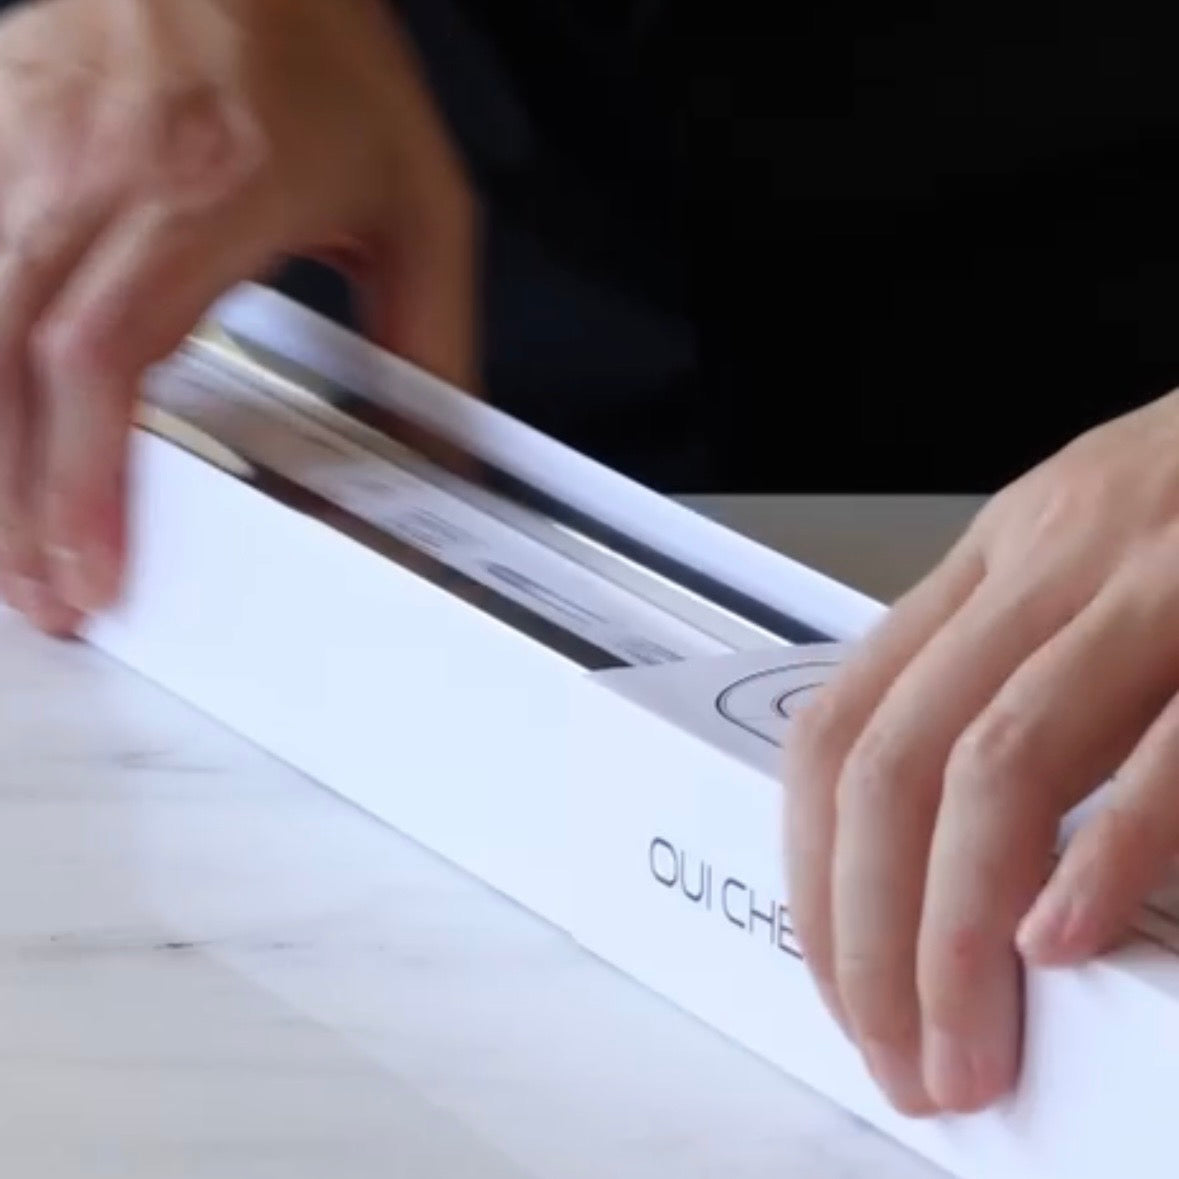
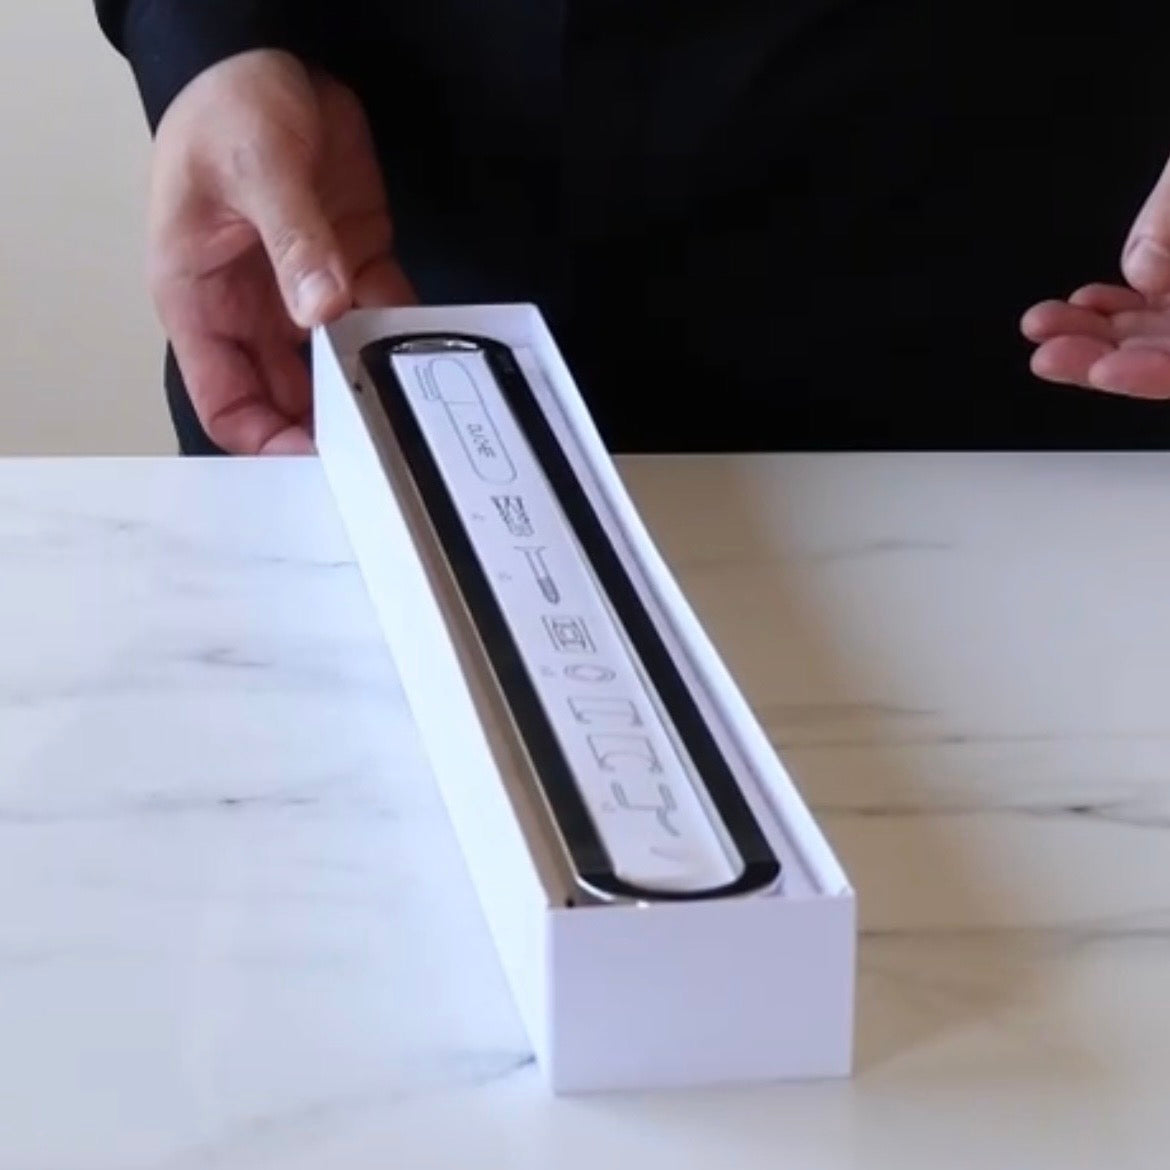
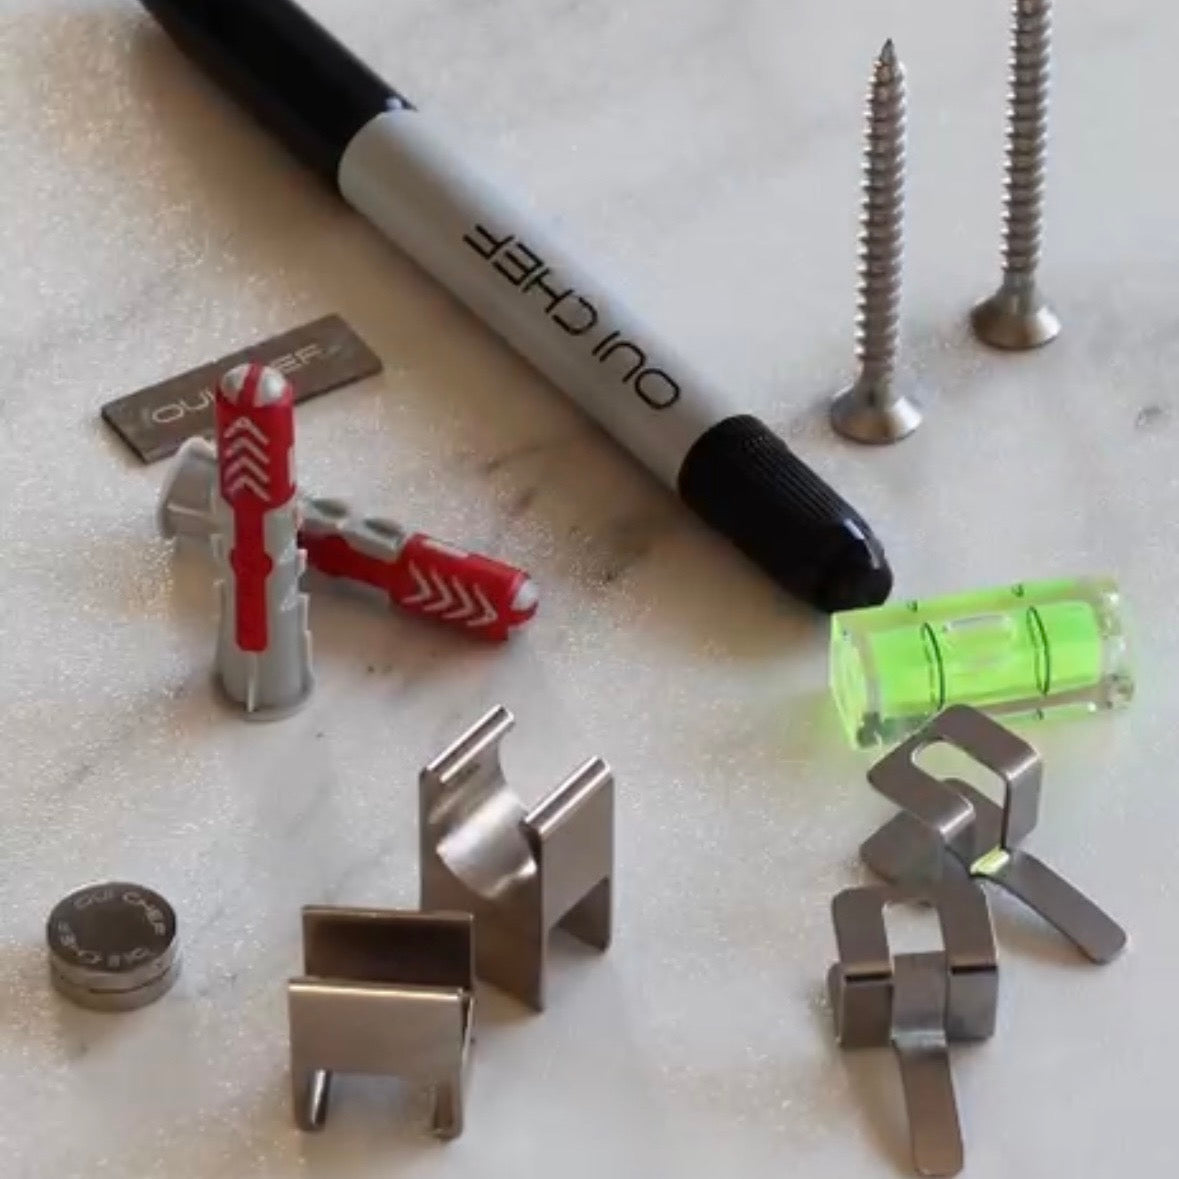
Unboxing
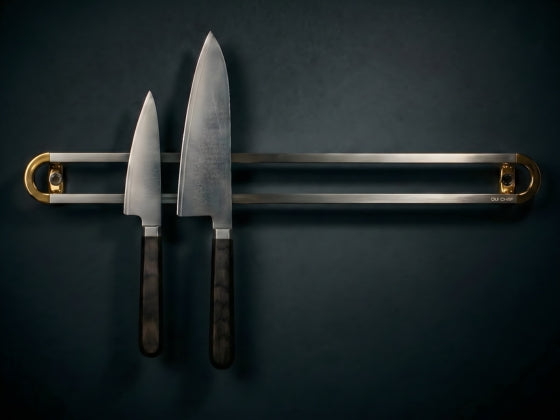
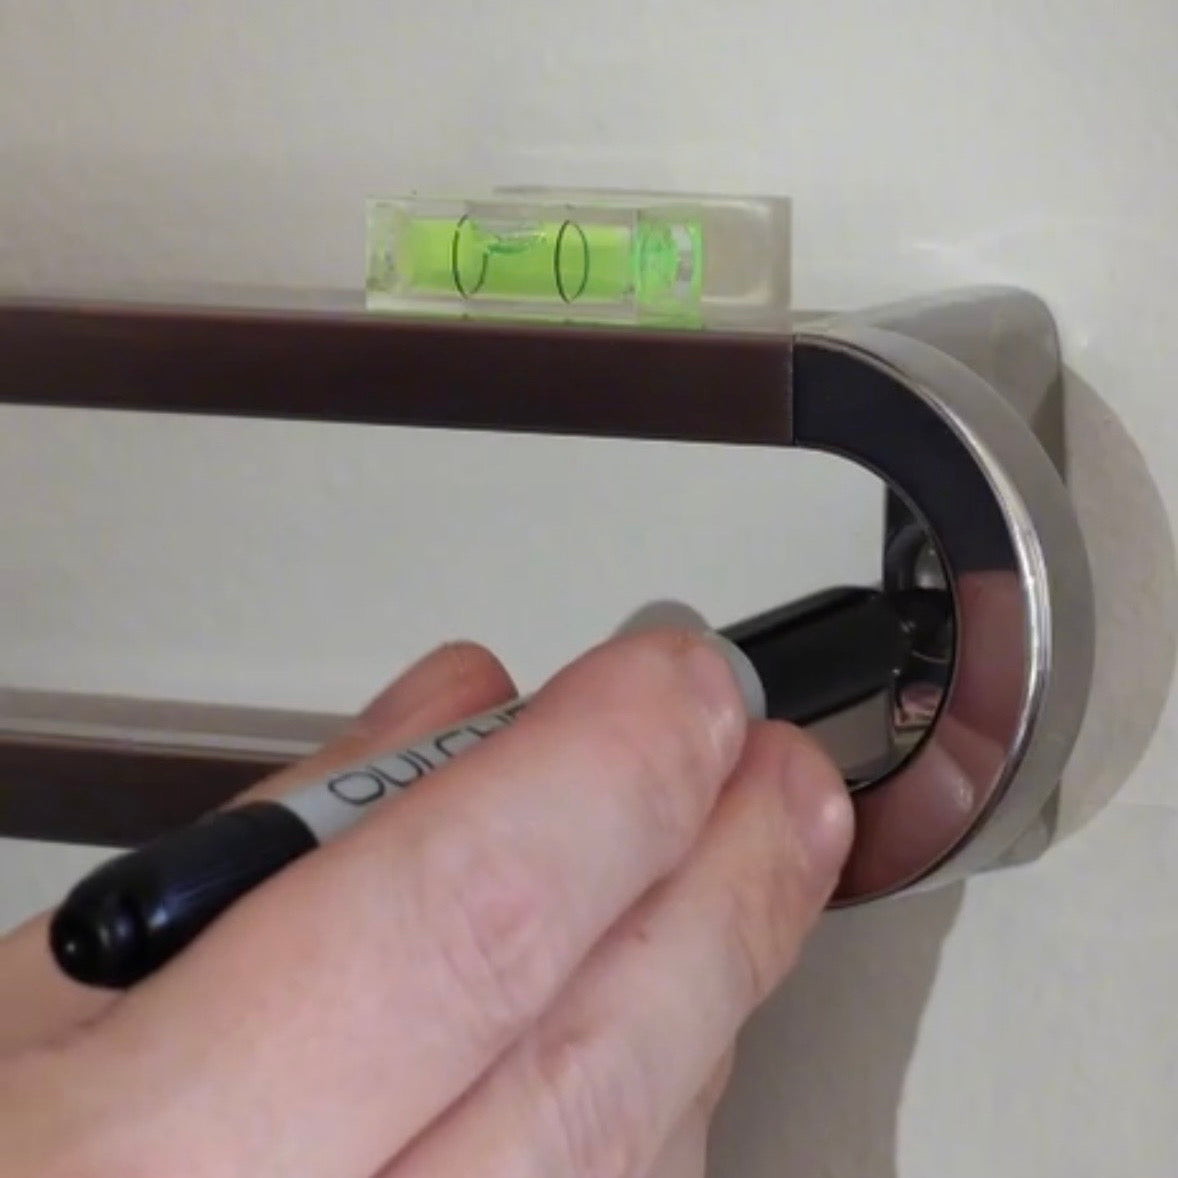
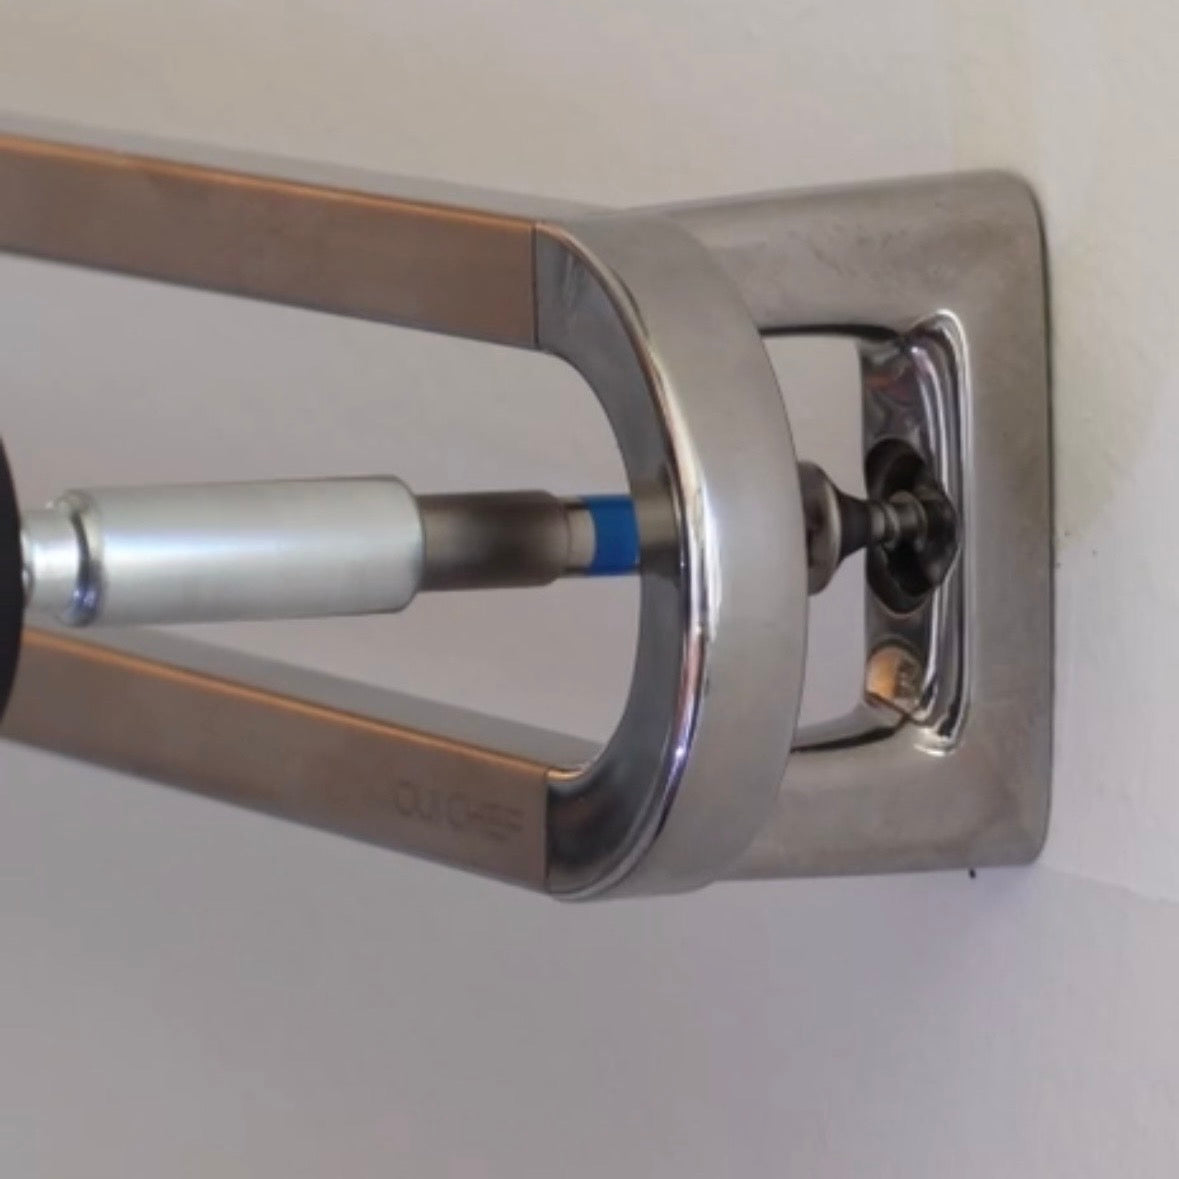
Mounting the Rack
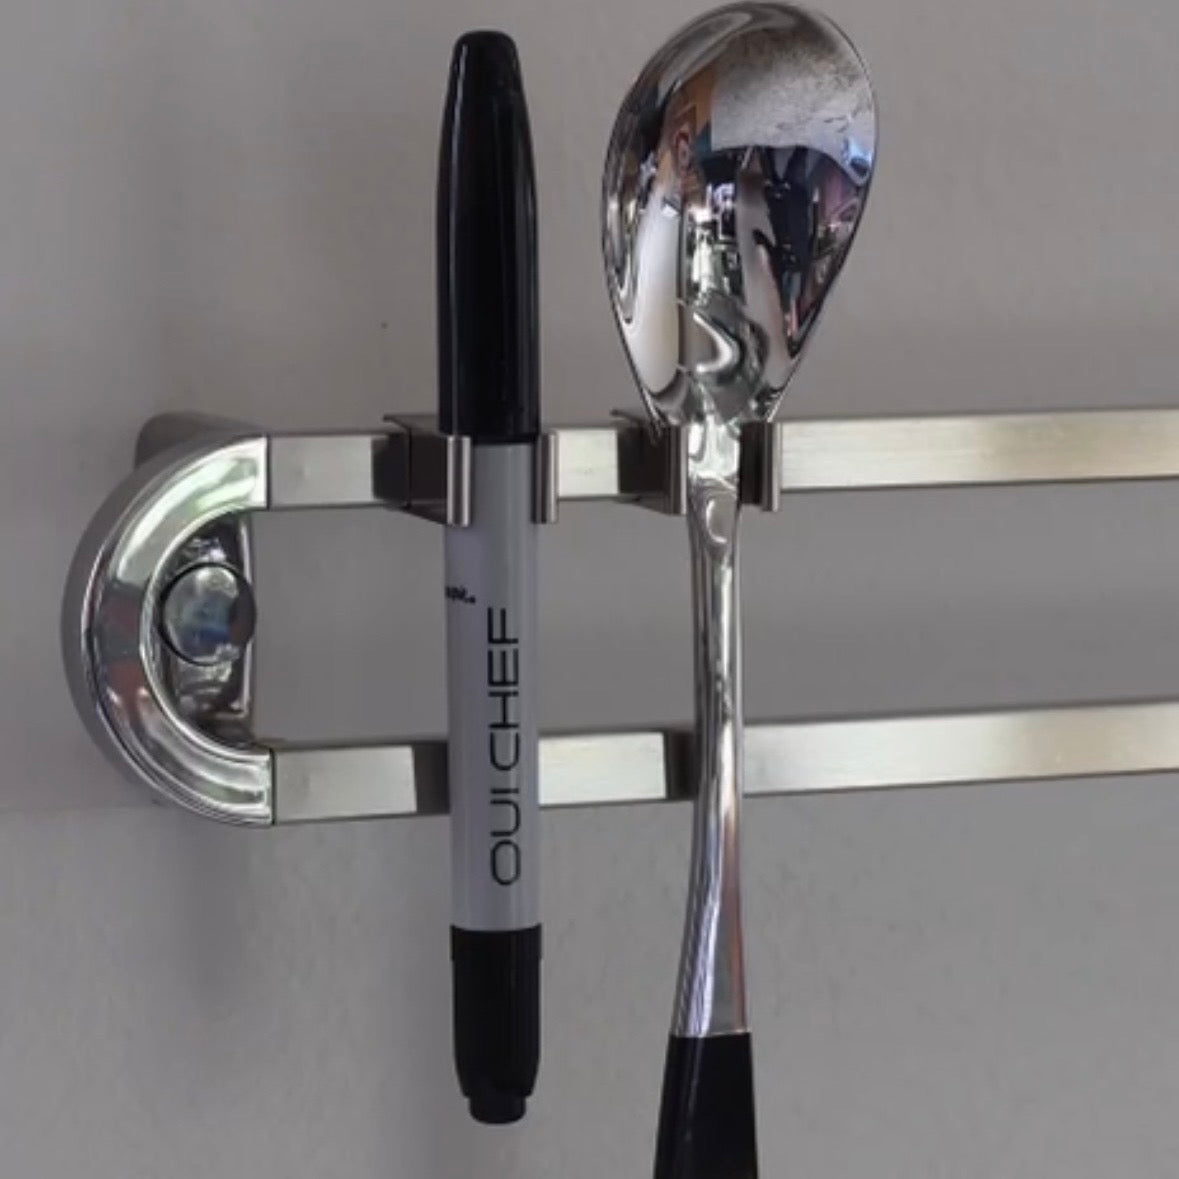
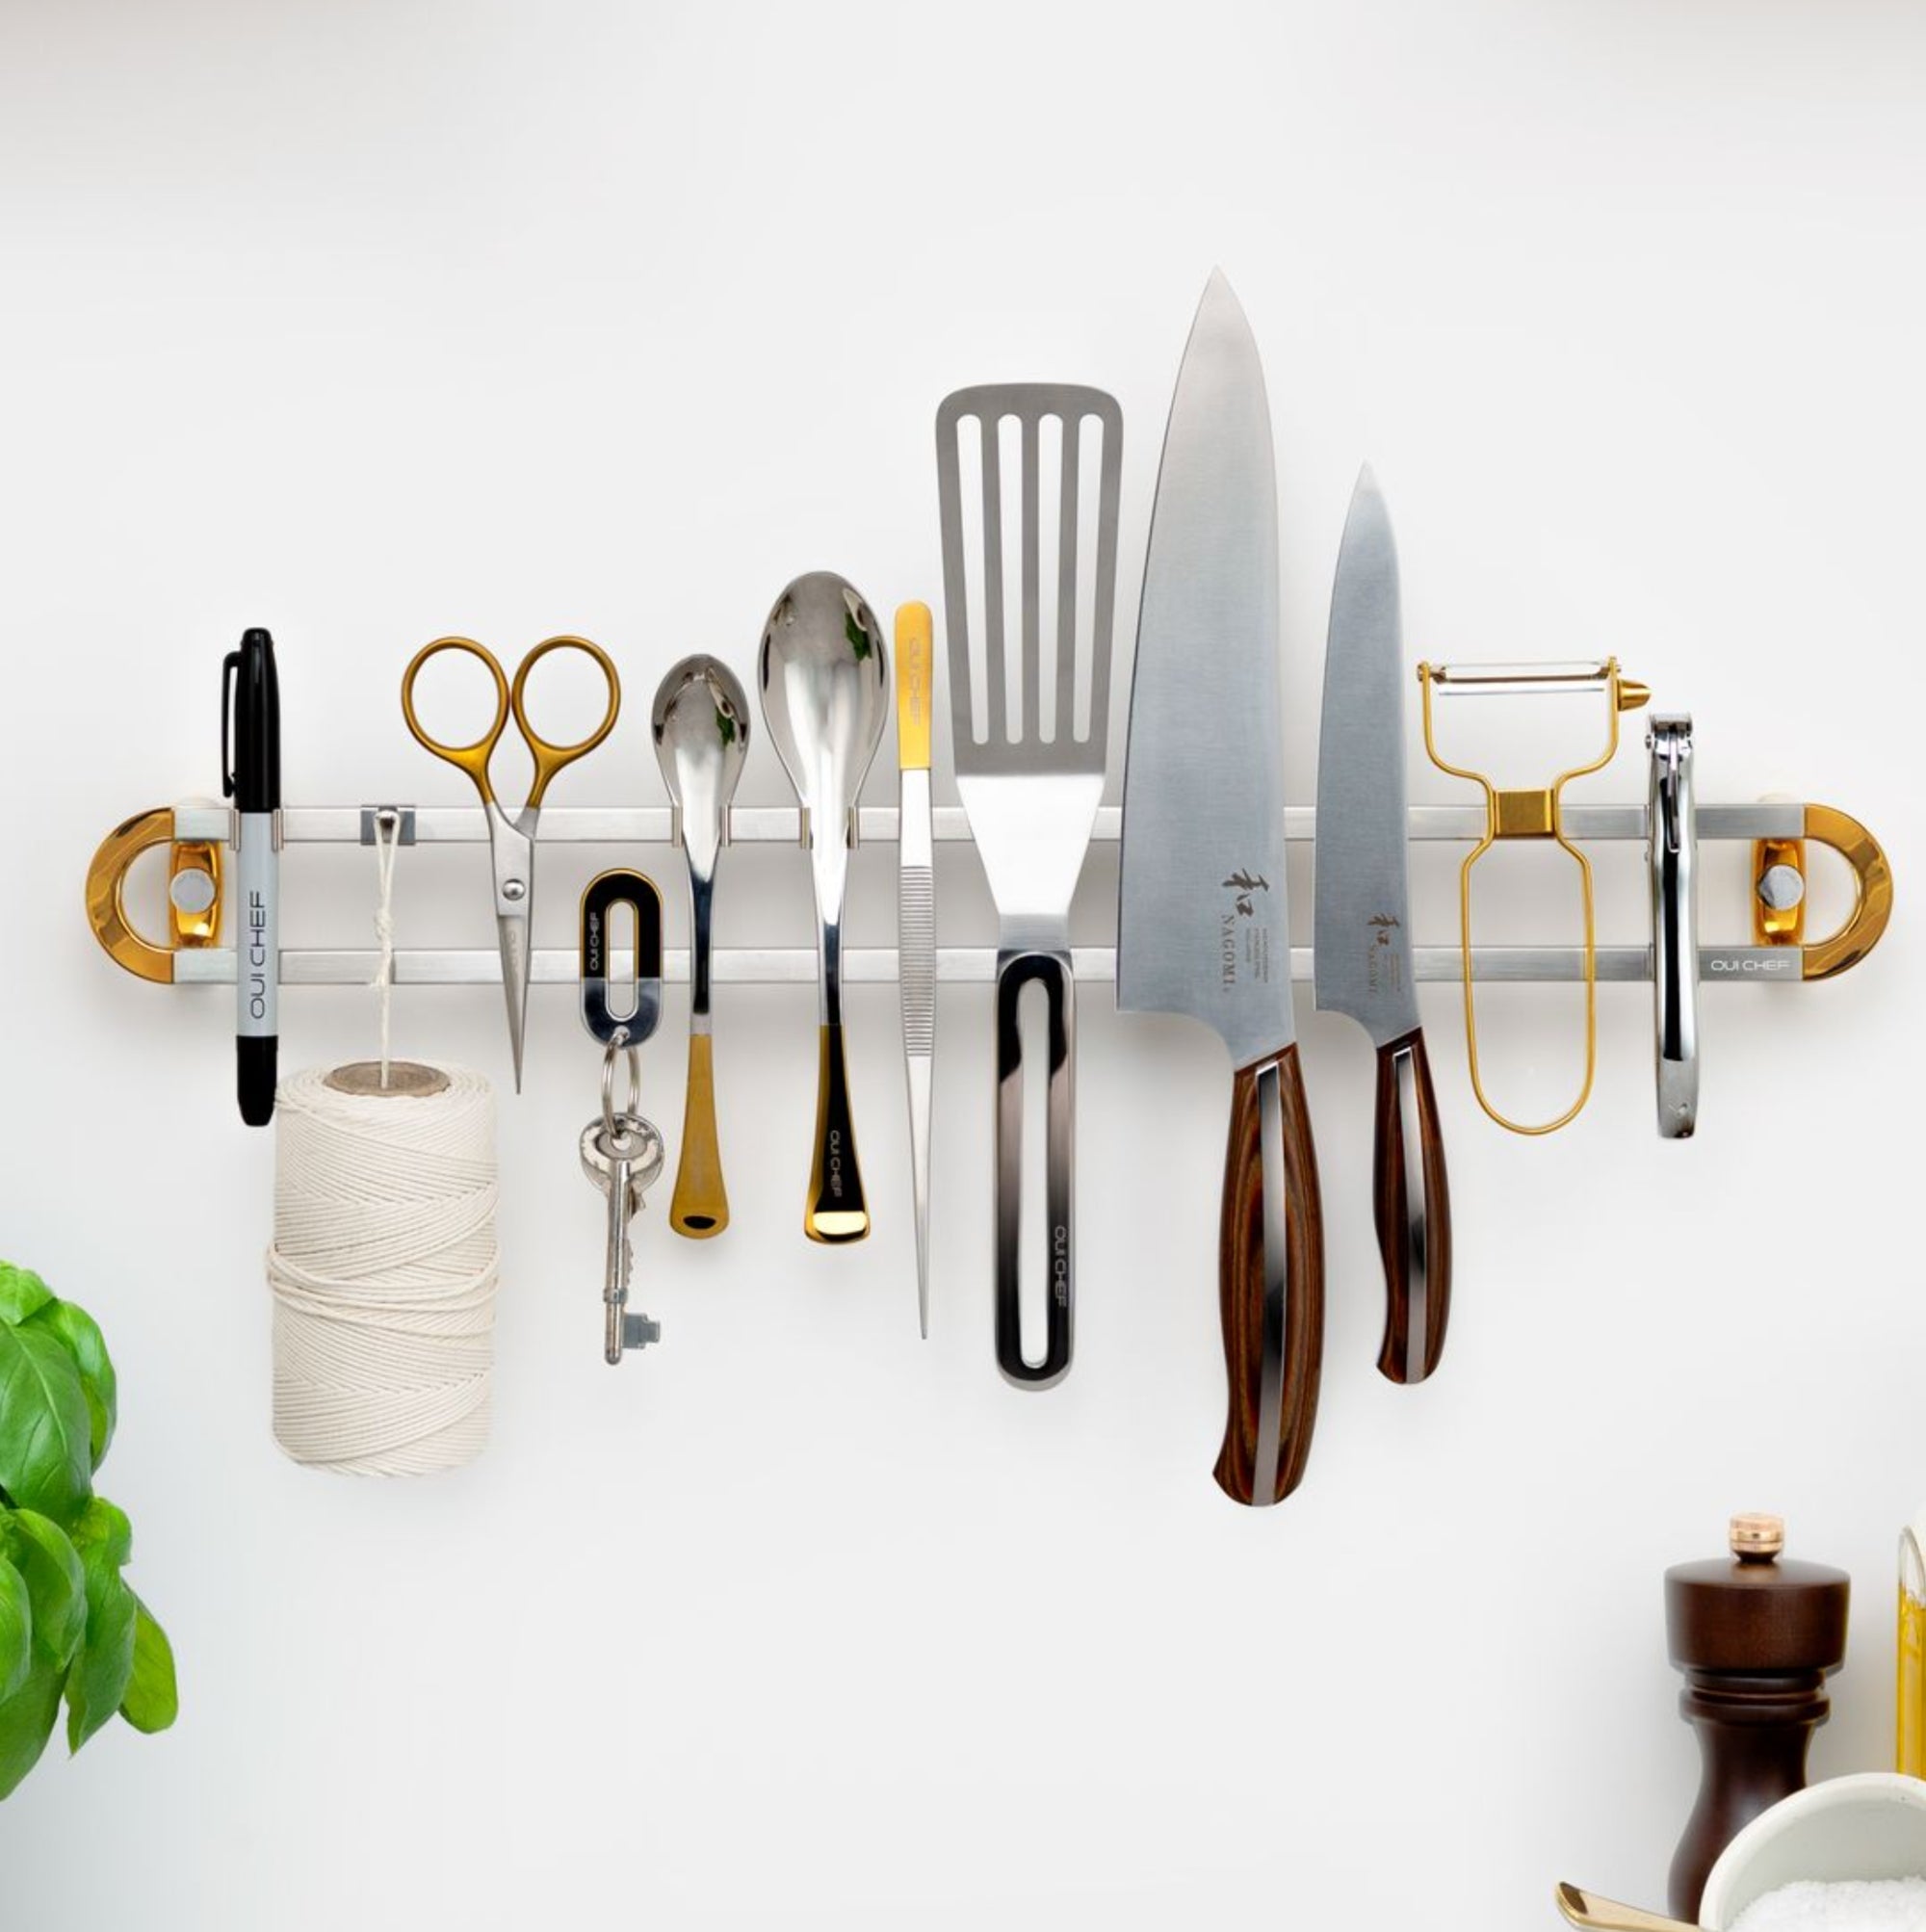
Adding Accessories & Tools


Compatible with Masonry, Drywall, and Most Wall Surfaces
Notes on affixing to drywall/plasterboard
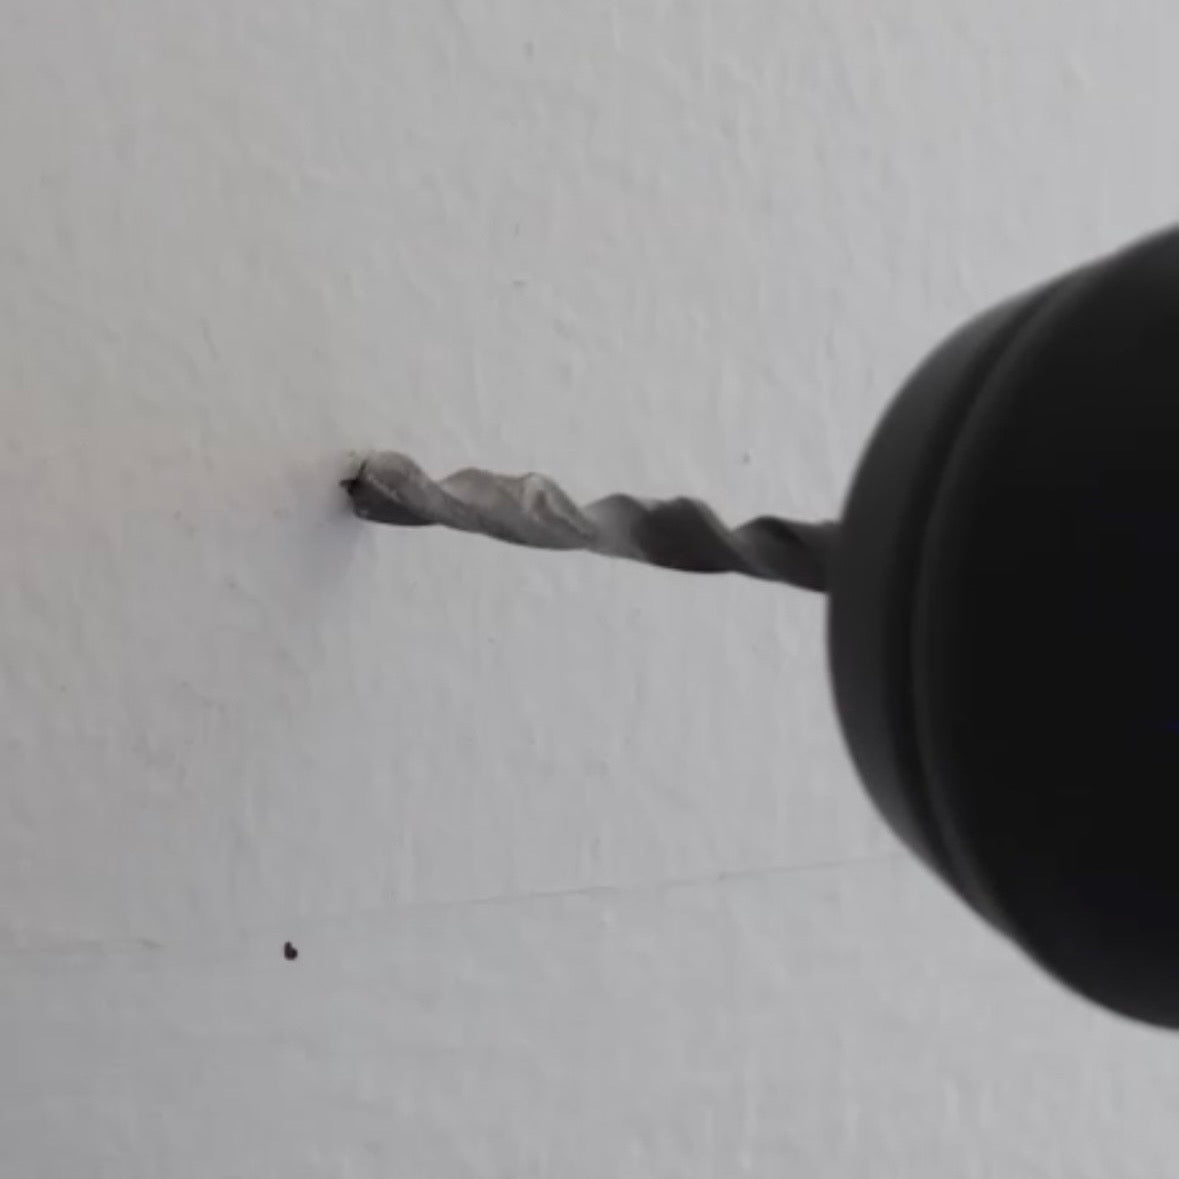
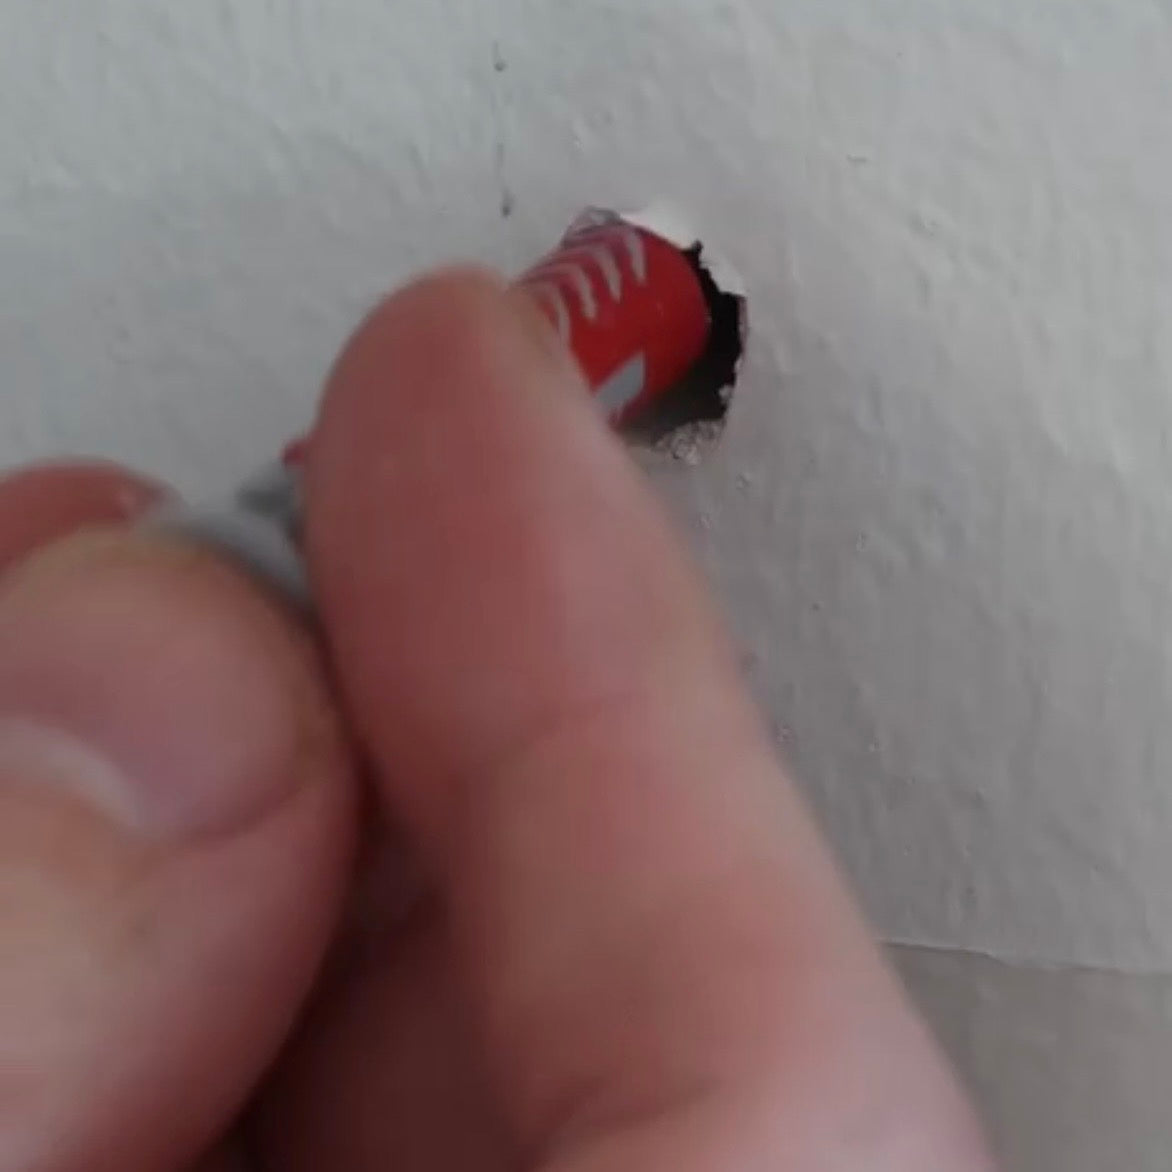
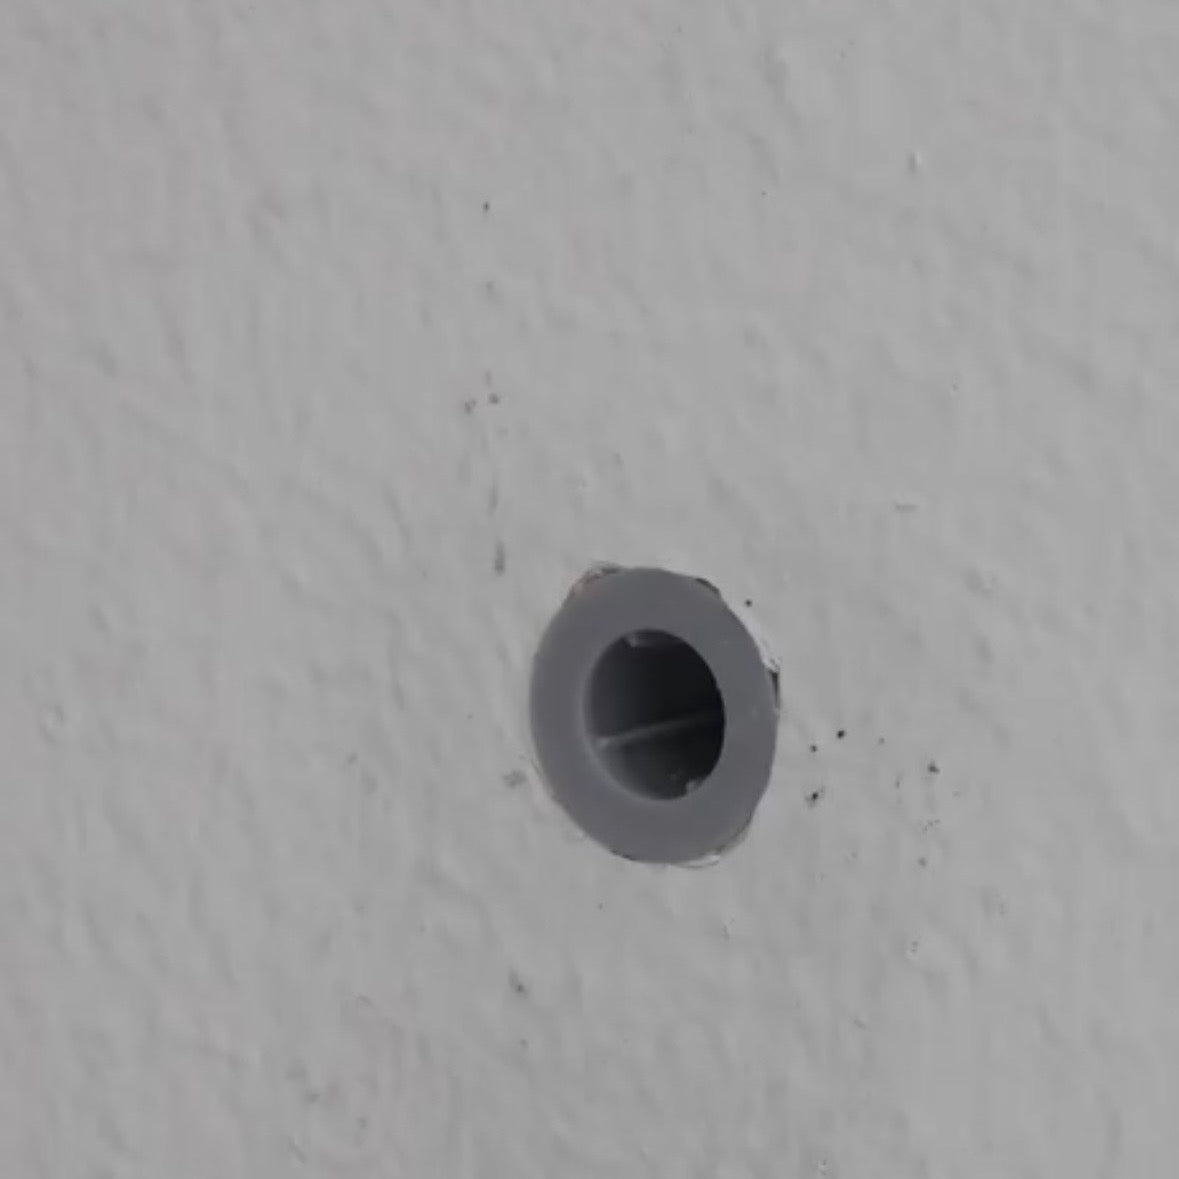
- Fully screwing in the screws at moderate speed allows the DuoPower plugs to expand and lock tightly behind the drywall ensuring a tight and permanent fixing.
- Locating and drilling into a wooden stud behind your drywall (even at one end of the rack) will only mean an even stronger fixing so there is no need to avoid the wooden studs.
Notes on wall surfaces
Tiles
- Aim for one screw hole at the intersection of four tiles (stacked pattern) or three tiles (offset pattern)
- Drill the second hole accordingly
Marble
- Drill with caution - consult a professional if unsure
- If you are installing a new kitchen, your kitchen installer can drill the holes when the marble is being pre-cut.
Glass
- Only Professionals should drill glass
- If you are installing a new kitchen, your kitchen installer can drill the holes when the glass is being pre-cut.
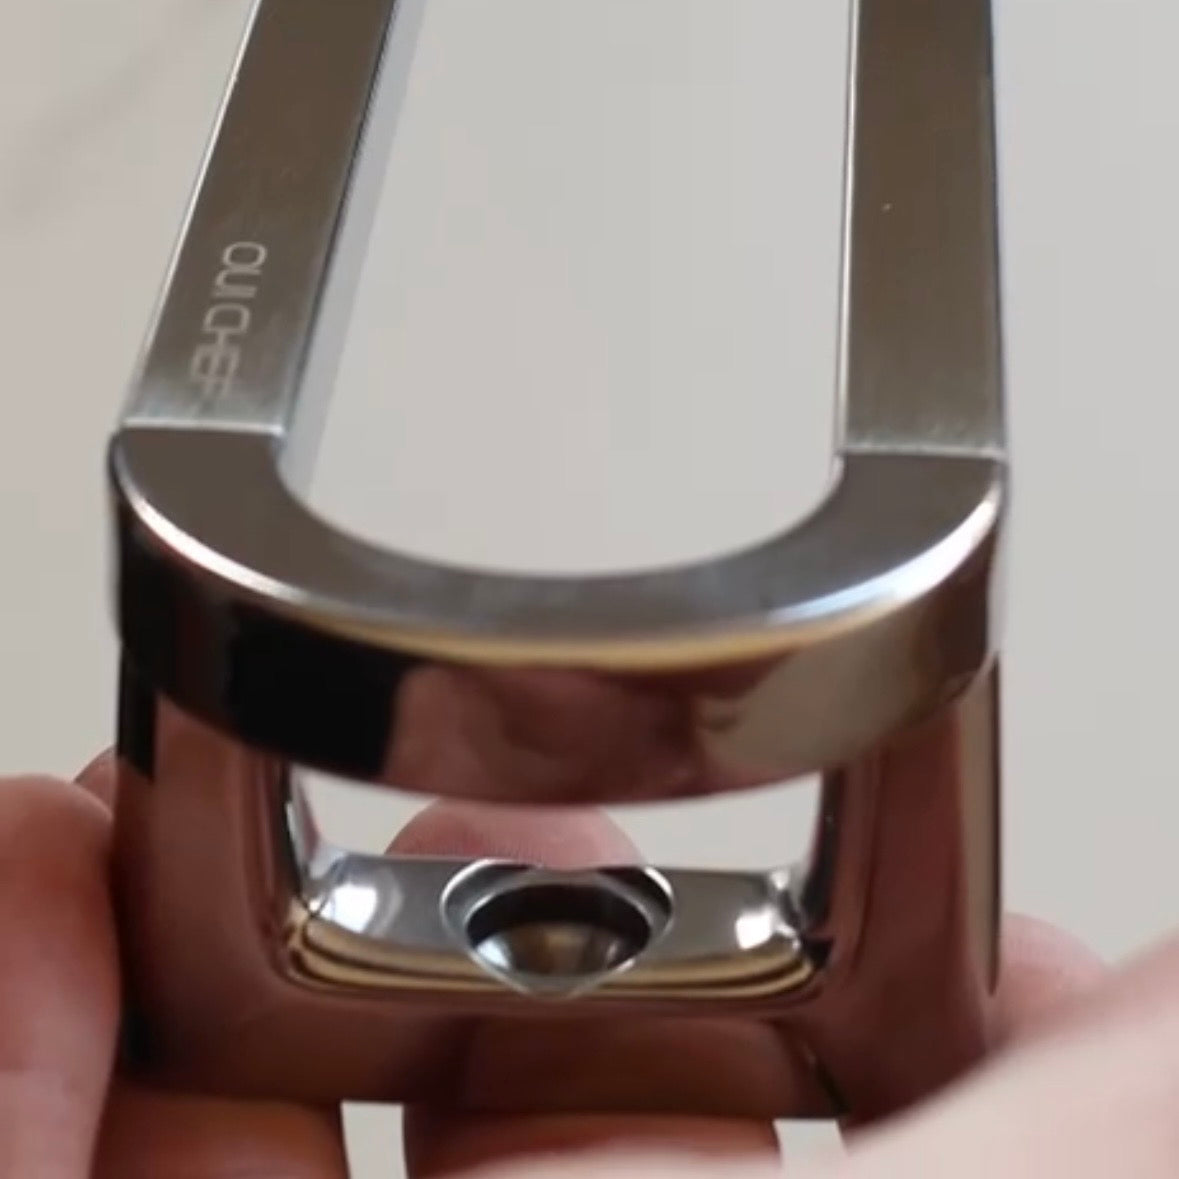
Notes on Removing rack
Should you need to remove the rack from the wall:
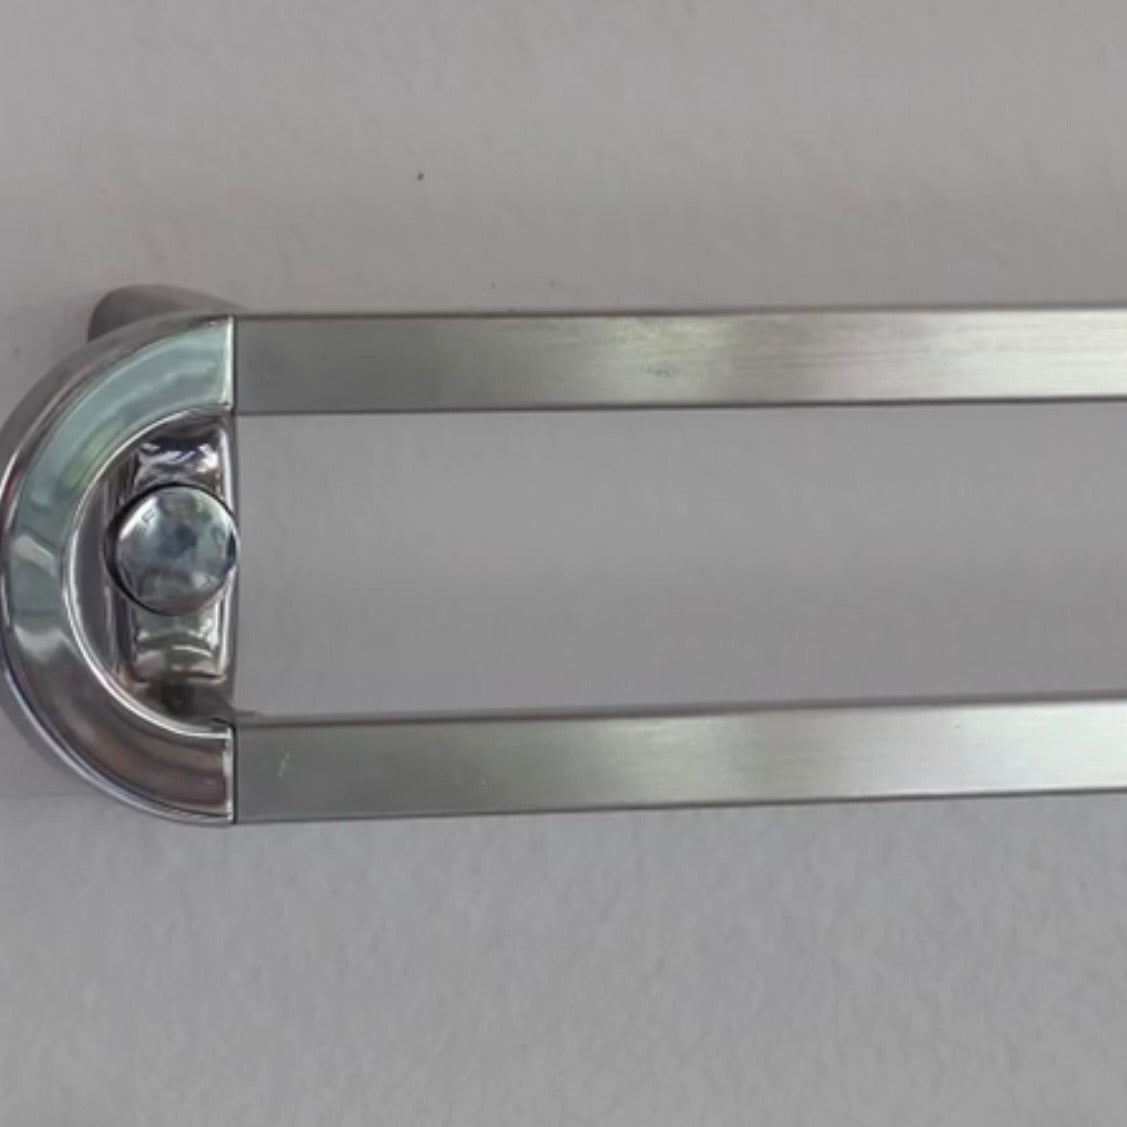
- Prise off the magnetic caps using the tip of an appropriate knife (use a sturdy knife, not your finest chef’s knife)
- Unscrew the screws
- Remove the wall plugs: Lightly hand screw into them and lever out with a hammer claw.
- by hand screwing in the screws and carefully lever out with the claw of a hammer
- Fill the holes with a suitable filler and smooth over.
- Sand the dry filler smooth if necessary and paint over to remove all trace of the holes